
Fuji X-H2 Review / Upgrading from the Fuji X-H1
Let’s dive into the Fujifilm XH2
This will be an evolving blog post, so every few months I’ll add a lot more photos + videos to it as I do more work with this camera.
This is going to be a bit of a long review detailing my first few months with the XH2 and how it’s working out for me, it’s very much a real-world review so I won’t be doing sensor tests and all that jazz, instead just a rambling of thoughts and some example photos!
Tech Specs
Here are some of the main technical specifications of the camera, mostly the useful bits, if you want the full list then head over to the Fujifilm Website <
Lens Mount - FUJIFILM X mount
Image sensor - 23.5mm x 15.6mm (APS-C) X-Trans CMOS - 40.2 million pixels
Image Processing Engine - X-Processor 5
Storage Media - SD Card + CFexpress Type B Card
ISO Range - 125-12800
Image Stabilizer - 5-axis image sensor shift - 7.0 stops compensation
Movie Recording - Up to 8K - 7680 x 4320
Power supply - NP-W235 Li-ion battery (About 680 Shots)
Dimensions - Width: 136.3mm - Height: 92.9mm - Depth: 84.6mm (Minimum Depth: 42.8mm)
Weight - Including battery and memory card: 660g
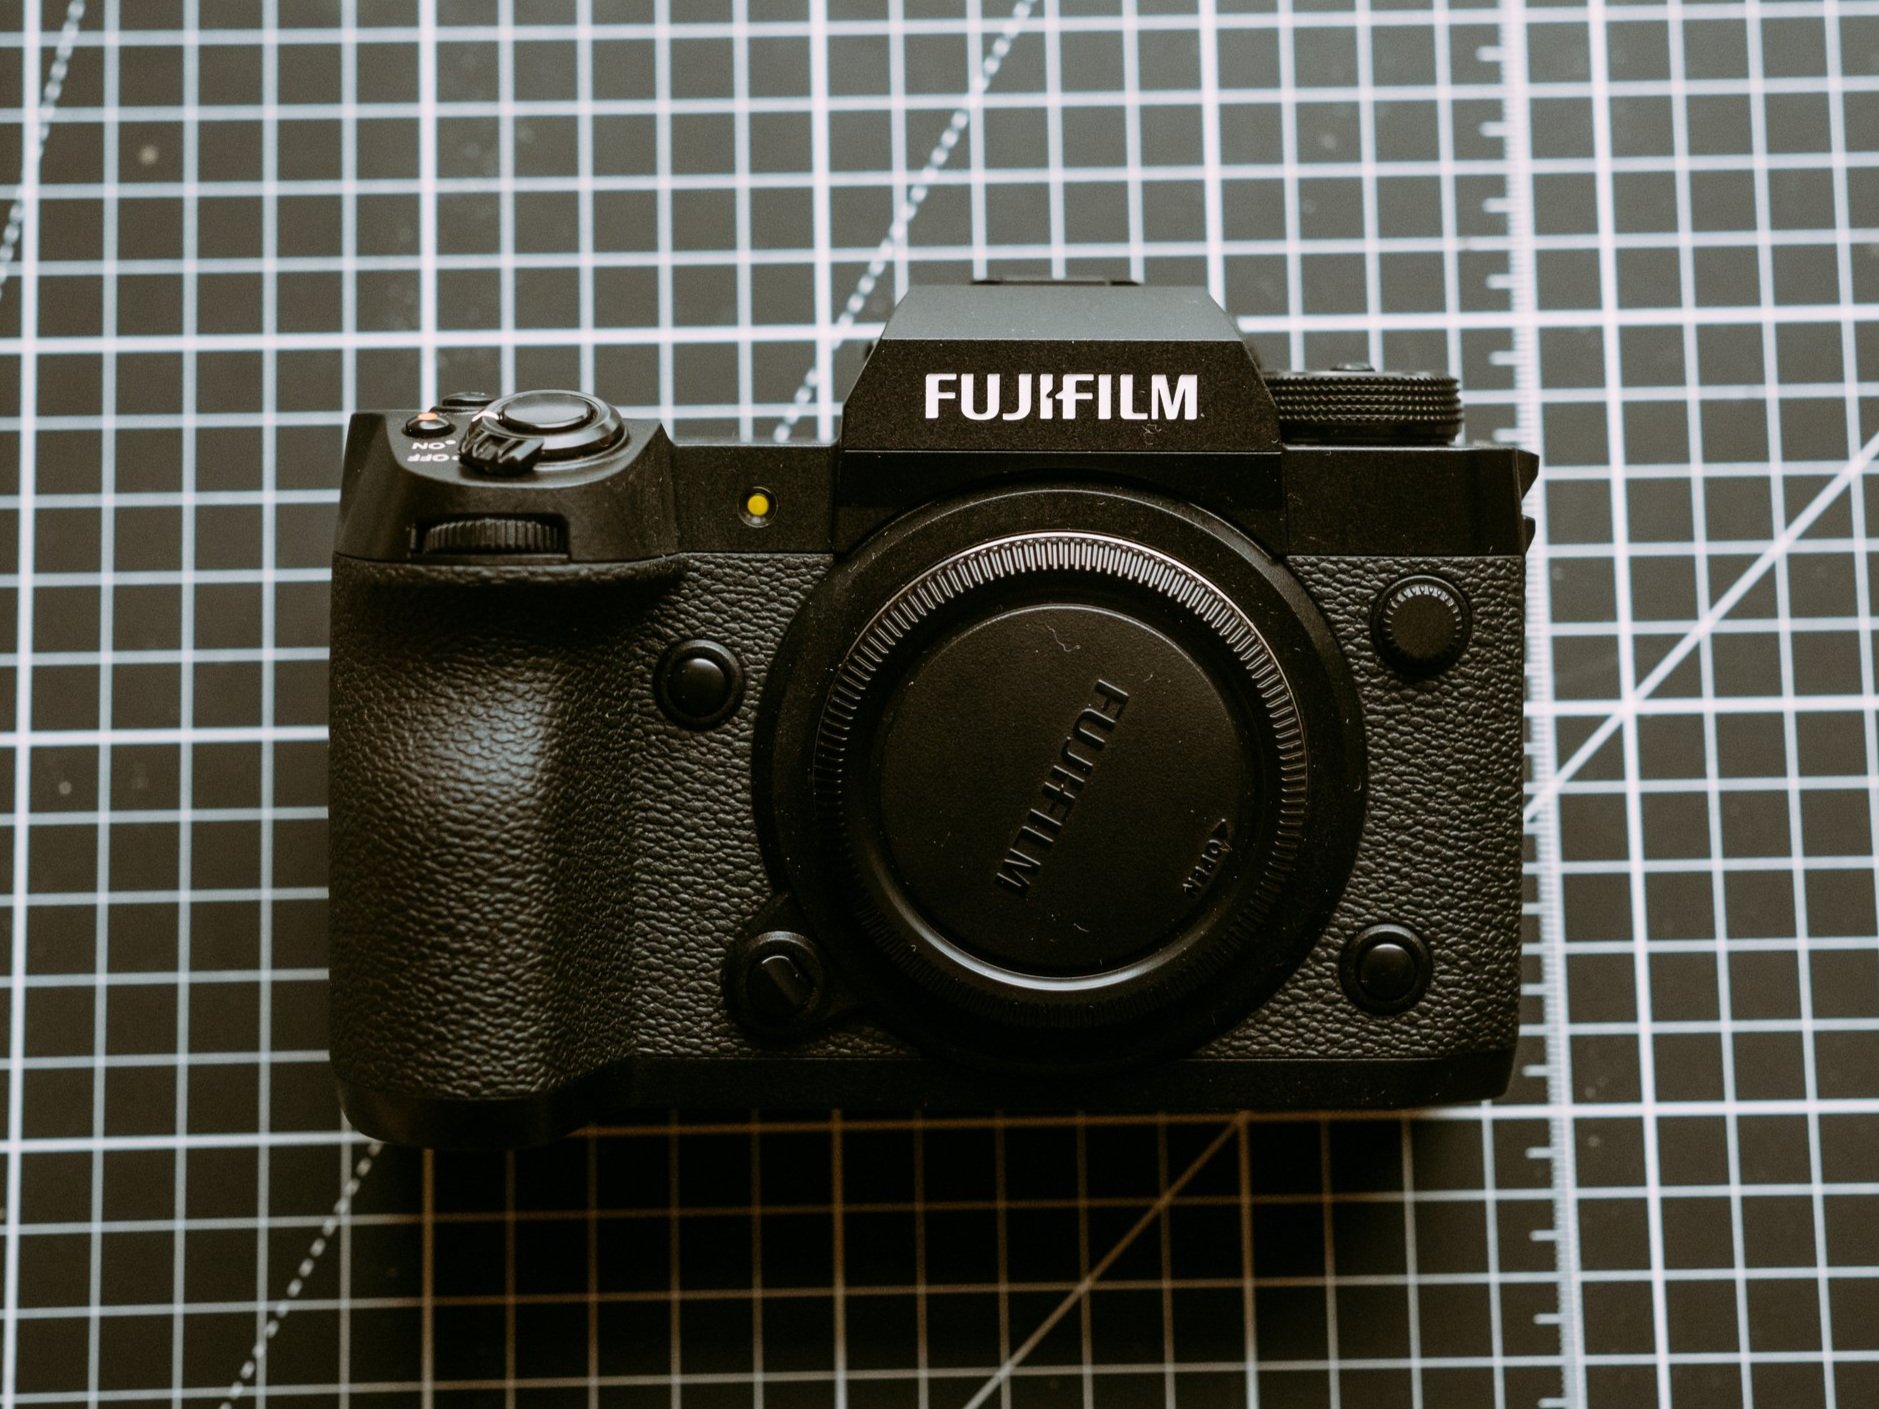
Build Quality, LCD Screen, and Buttons / Dials
The Fujifilm XH2 is a standard magnesium alloy body build, making for a tough camera that’s designed for heavy use. It’s weather-sealed meaning you can shoot in the rain when paired with weather-sealed lenses and shot in temperatures ranging from -10 to +40 Celsius.
The LCD screen is a fully articulating version, meaning you can flip the show screen away when you’re not using it, or flip it out for easy selfie recording or hip shooting. It is a much better flip screen than I’ve used previously and the build quality matches the camera so it feels sturdy and not like it’s gonna snap off.
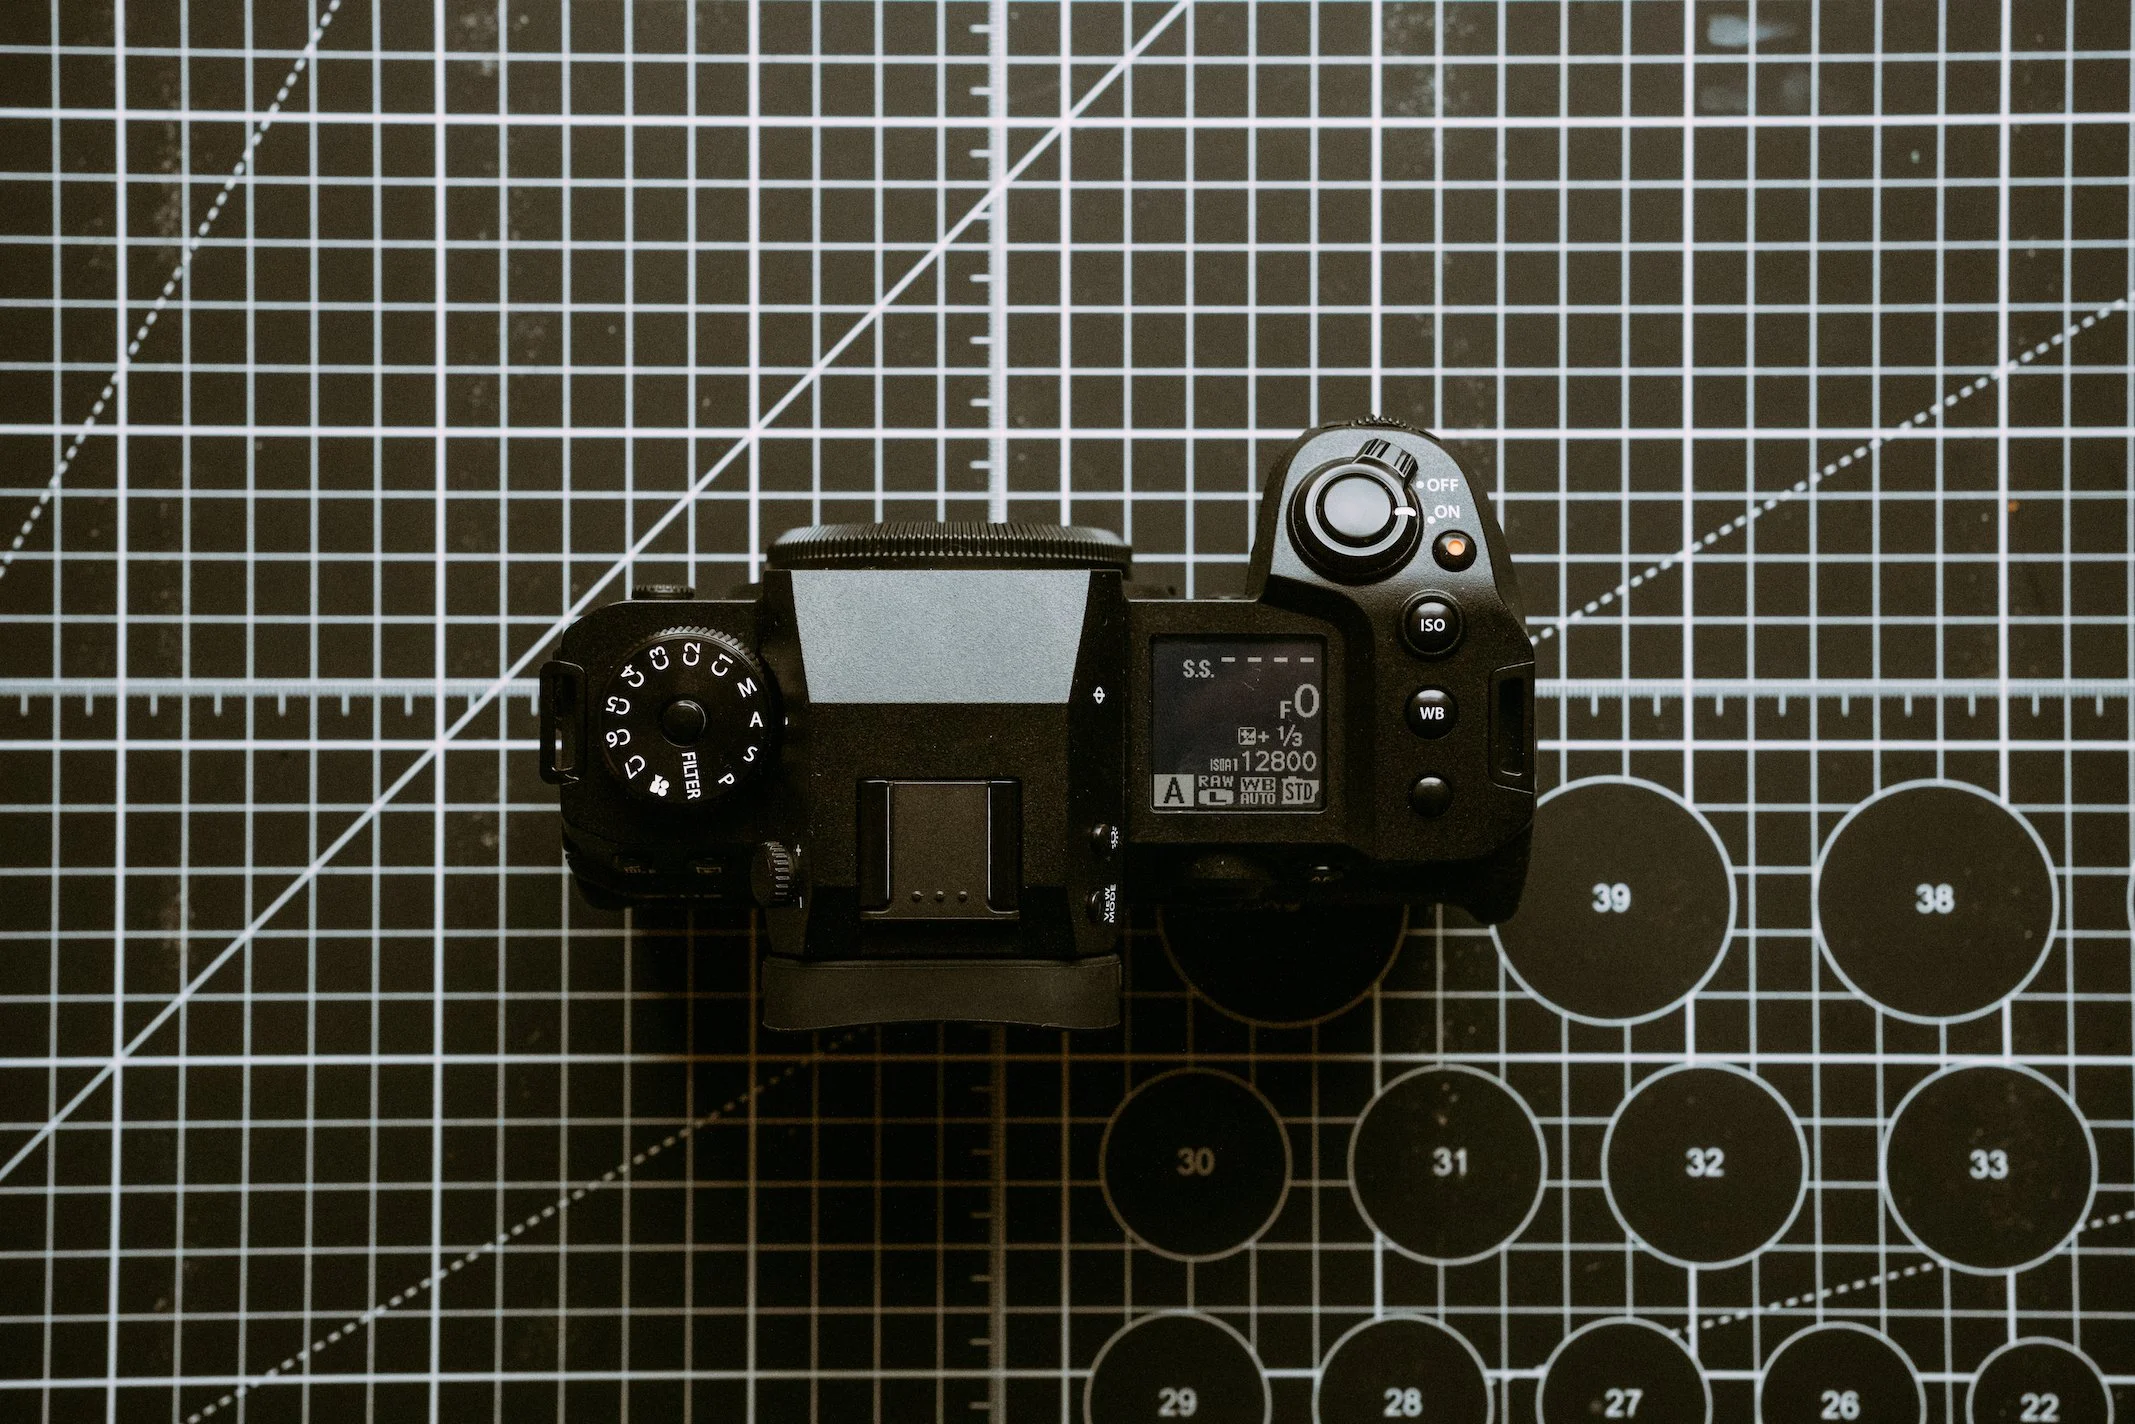
There are no shutter speed + ISO dials, instead swapping out for a PSAM dial on the left and the top screen on the right. There is the usual array of fully programmable function buttons and a joystick as well as the tough screen mode (which I always like to keep off). One of the standout buttons is a dedicated video record button next to the shutter, so you don’t have to swap modes from photo to video to start recording, just press that button and away you go.


Battery, Chargers, and Memory Cards
This camera takes the newer NP-W235 batteries which are rated to about 680 shots (depending on settings), I’d say I get somewhere similar to this number from real-world shooting, it is certainly a lot more efficient than the older XH2 batteries.
This camera doesn’t come with a charger as standard, instead, you have to charge through the body of the camera, which is fine of course, but I’d recommend picking up the BC-W235 dual battery charger - it charges two at once and gives a % power readout so you can see exactly how much the batteries are changed, again much better than the old one, just a shame you don’t get it included with the body.
The memory card setup is new, with one standard SD slot that takes the UHS 2 cards (Same as the XH1) and then a new CFexpress Type B slot. The CF cards are much faster and you will need these if you want to do the 8k video, however, the CF cards are very expensive so bear that in mind when upgrading.
I spent about £200 per card on 512 GB Angelbird CF cards, this gets me around 7200 shots shooting compressed RAW.


Photo Quality and Example XH2 RAW Files
With a much improved 40 Megapixel sensor the Fuji XH2 offers a very high-resolution camera, which of course has its benefits but for me, more megapixels mean I can do more aggressive cropping and get the image I want, without sacrificing quality.
The overall photo look and feel is what you’d expect from Fujifilm, great colour rendition and really sharp when paired with the newer lenses like the 33mm F.14 and the 18mm F1.4.
This camera can also do 160MP pixel-shift photos, where it moves the sensor by a pixel to layer up and create a huge image, I’ll be doing more on this in a separate blog post!
Here are links to a few Fujifilm RAW files from the XH2, feel free to download them and have a play with the RAW files. - I’ve included a very underexposed and very overexposed RAW image too so you can play with those.
(Button links to a free downloadable product of 5 sample Fuji RAW Files)

Fuji XH2 + 18mm F1.4 Lens - Cropped from portrait image.


Video Quality, 8k Video, and Video Cropping
One of the reasons I got the Fuji XH1 back in the day was to expand into video work, the new upgrade to the XH2 takes this even further with a camera that’s loaded with features for shooting video. One standout this to mention is this camera can record up to 160 minutes, so no more 20 minutes max video clips!
First off is the 7-stop IBIS, meaning you can get a non-shakey video with any lens paired with the camera.
The option for shooting 8K video is something that I’m keen to explore more, and a more standard 4k option still allows a lot of cropping when delivering a standard HD wedding film. 8K allows for 32-megapixel stills to be taken directly from the footage, of which I’ll pop a few below.
The in-built Eterna profile is great for video work and is what I shoot everything on, F-LOG is there is you want it, but for me, I don’t want to spend hours colour grading.
Here’s a short film exploring the 8K cropping ability.
(This footage is exported at 1080p, but will give you an idea of how much you could crop the 8k footage if you wanted to)
Focus Speed, Accuracy, and Tracking
Another improved feature is the focus, and this is vastly improved over the Fuji XH1.
You’ve got the standard 3 focus modes of Manual, Continuous, and Single - then within those modes more options for setting the camera up how you want it to focus - all of the focus settings are very customisable.
Manual Focus: Standard manual focus, you can set up the screen with a few options for focus assist such as Zebra + Highlights, I mainly only use this for dancing photos where I’m dragging flash and shooting at F11+
Single Focus: This was my old go-to where I’d have a central spot and then focus and recompose, this was fine for the most part, but challenging when it came to moving subjects - now I’ll mostly use this for static objects.
Continuous Focus: This is my new go-to mode for working, continuous focus with tracking. I keep a center focal point and then have the camera lock onto this point with a half-press, it will then keep the focus on that point - great for confetti runs, or where people are going to be moving around.
Main Differences Between the Fujifilm XH2 + Fujifilm XH1
So, should you upgrade from the Fuji XH1 to the Fuji XH2?
The new features put this camera far ahead of the older XH1, better battery life, faster everything, and a better sensor make it an all-around better camera.
So tech-wise the XH2 is far superior, but it’s not all about the tech! If you’re using the Fuji XH1 and enjoy it, and it gets you the results then the financial cost of the upgrade is very much a deciding factor.
Not only is there the cost of the body itself, but also an external charger (£50) some extra batteries (£60) each, and getting new CFexpress cards (£200 for a 512GB)
Fuji XH2 Review Summary
Overall I’m very glad that I took the plunge and upgraded to the Fuji XH2, as I use cameras for my work I’m always wanting to make sure I’m delivering work as well as I can - this camera helps me do that.
The video features are allowing me to film high-quality videos as well as that dedicated record button which allows me to do both side my side more smoothly.
The photo features mean I can crop my images more aggressively and delivery more ‘hits’ due to the focus being that much better.
So, I’d say if you have the money and are on the fence then you can’t go far wrong with this upgrade.
Thanks for reading, I’ll be expanding this blog over the next year as there is plenty more about the camera to explore. Feel free to pop any questions below and be sure to check out my Youtube channel for videos about my Fuji X gear!
Cheers,
Col-